Managing Listing Translations
Overview
In this guide we will show you how to manage your listing translations within Expandly.
Creating a Translation
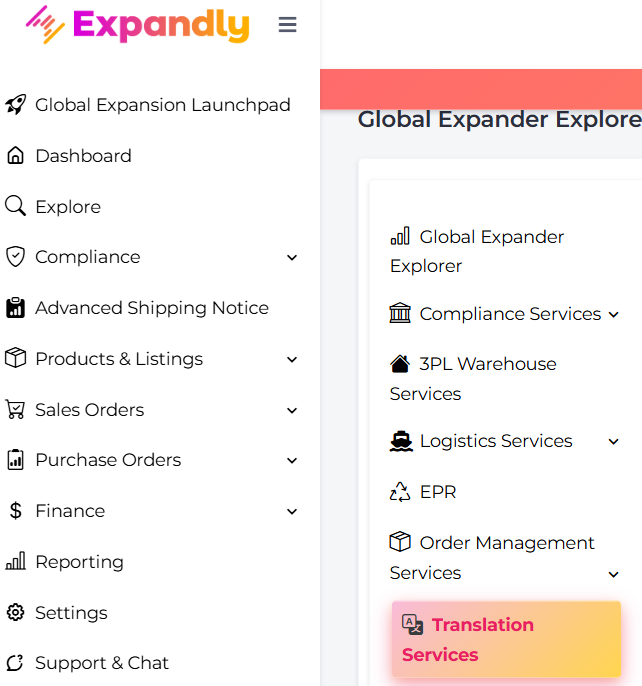
1. Click Explore and then select Translation Service:
2. On your Manage Translation page, click  (top right)
3. Select the Product(s) you wish to send off for translation by ticking the tick box (you can use the available filters to make it easier to find the SKUs you want to translate!) and then click  (top right):
4. On the Send Products for Translation pop-up, select the fields to translate (Title, Description or Bullet Points - you can select multiple at once) and also the Country(ies) you wish to translate to:
5. Once you are happy with your selections, click  which will begin the translation process for you
6. On your Manage Translation page, you will be able to view any translations you have initiated with a summary of the SKU, Title, Date of Request and Languages. You will also be able to view the status too:
7. Once the 'Status' is 'Completed' you can view the translation by clicking 
8. On the Translated Data pop up, you can view a break down of the translations which have been completed:
From here, you can chose to either:
- Copy the data manually by clicking the  icon
icon
- Save the information directly to the product in Expandly by selecting 
9. If you choose to save the translation data to the products, on the Save Translation pop up, you can select which channel(s) account(s) you wish for the information to be saved to:
10. Once done, click 
Need more help?
If you would like to learn more about our translations offering, please get in touch and the Team will be happy to help!
Related Articles
Adding & managing custom fields
Adding & managing custom fields Overview In this guide we will show you how to create and manage custom fields for products, listings and orders in Expandly. What is a custom field? A custom field can be used to store and manage additional ...Managing Users and Permissions
Managing Users and Permissions Overview In this guide we will explain how to add, edit and remove users from your Expandly account Adding Users 1. Select Settings (left menu) and then Users, to manage users and permissions: 2. On the Manage Users ...Adding & Managing Bundles/ Kits
Adding & Managing Bundles/ Kits Overview In this guide, we will show you how to create bundles/kits within Expandly. If you sell items in a bundle or kit, by creating the bundles within Expandly, this will up the bundle, and individual item stock ...Adding and managing variations
Adding and managing variations Overview In this guide, we will show you how to add and manage your product variations on Expandly. What is a variation? Some products you sell may be available in various different styles, colours or sizes for example ...Creating & Managing eBay Shipping Templates
Creating & Managing eBay Shipping Templates Overview In order to list to eBay successfully via Expandly, you will be required to apply a Shipping Template to your product(s). In this guide we will show you how to create and manage, eBay Shipping ...